How to Create a Facebook Page Through Meta Business Suite
A Facebook Page is one of the simplest, highest-leverage moves a nonprofit can make to reach new supporters and stay connected with the people who already care about your mission. This guide walks through creating a brand-new Facebook Page from inside Meta Business Suite, step by step.
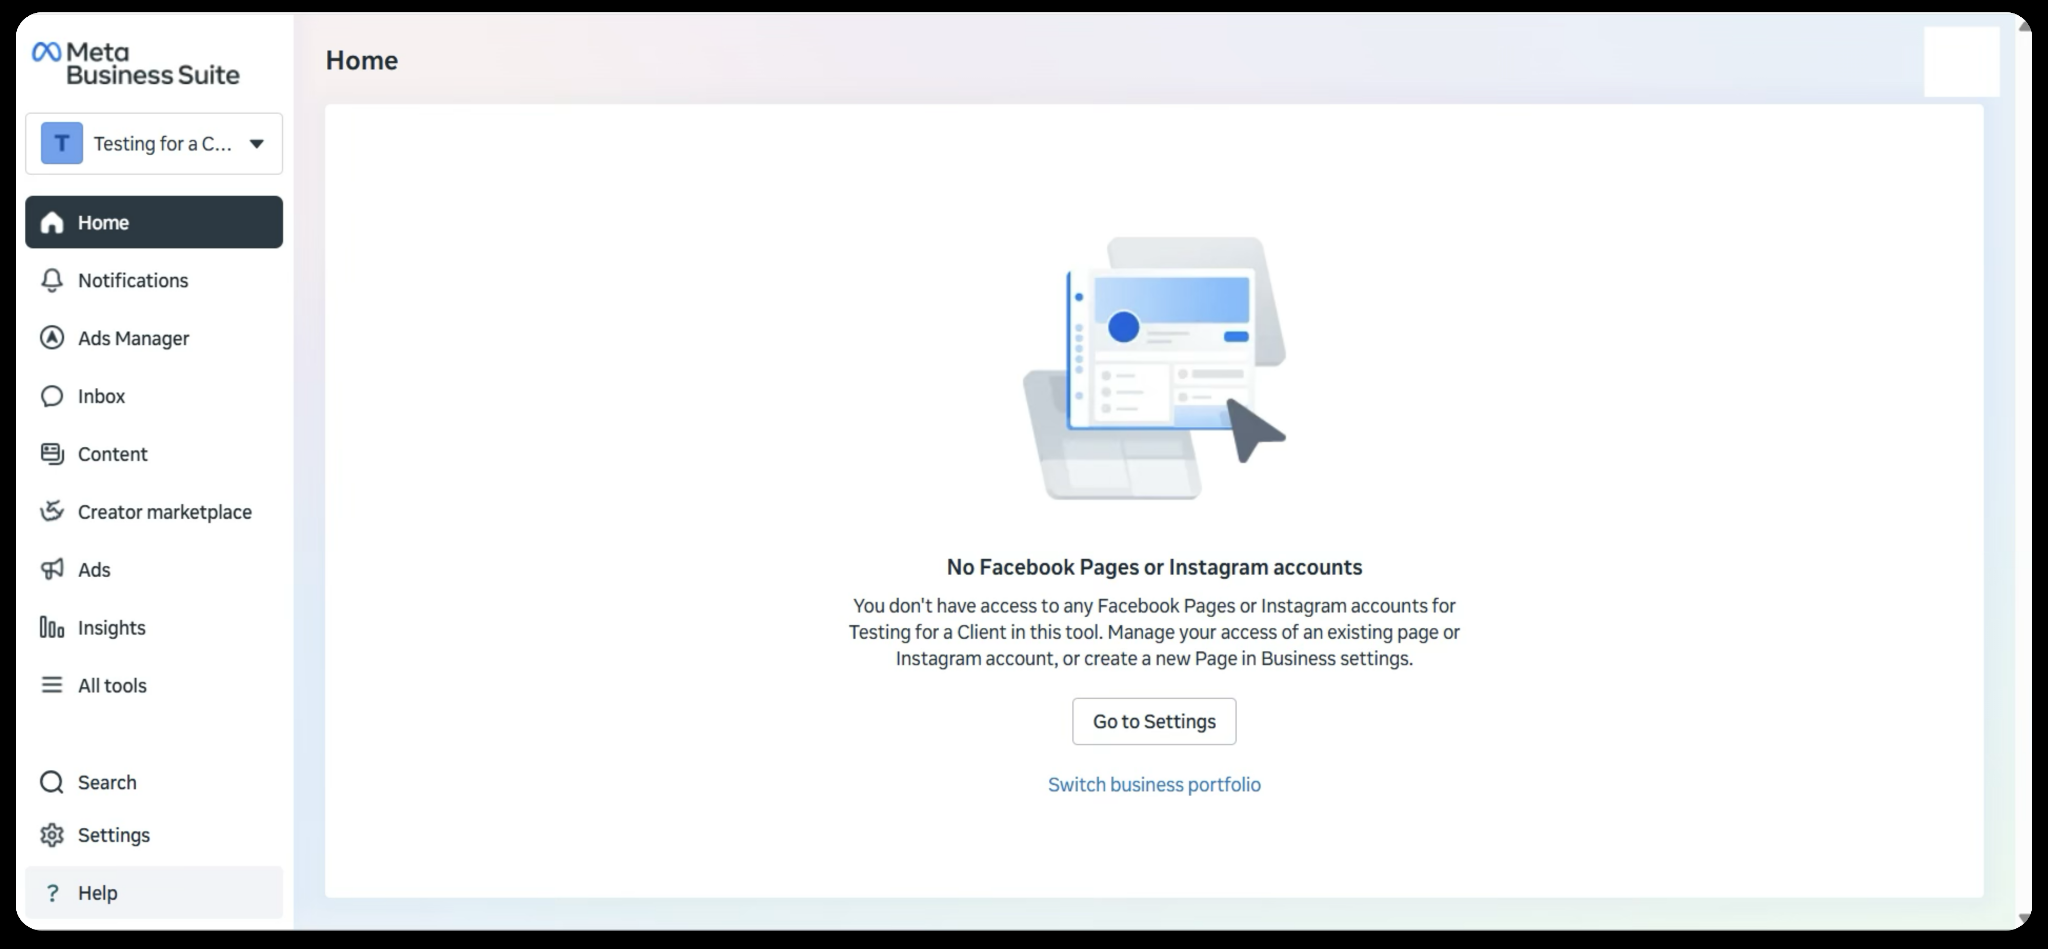
Step 1
Log in to Meta Business Suite. The page should look something similar to this:
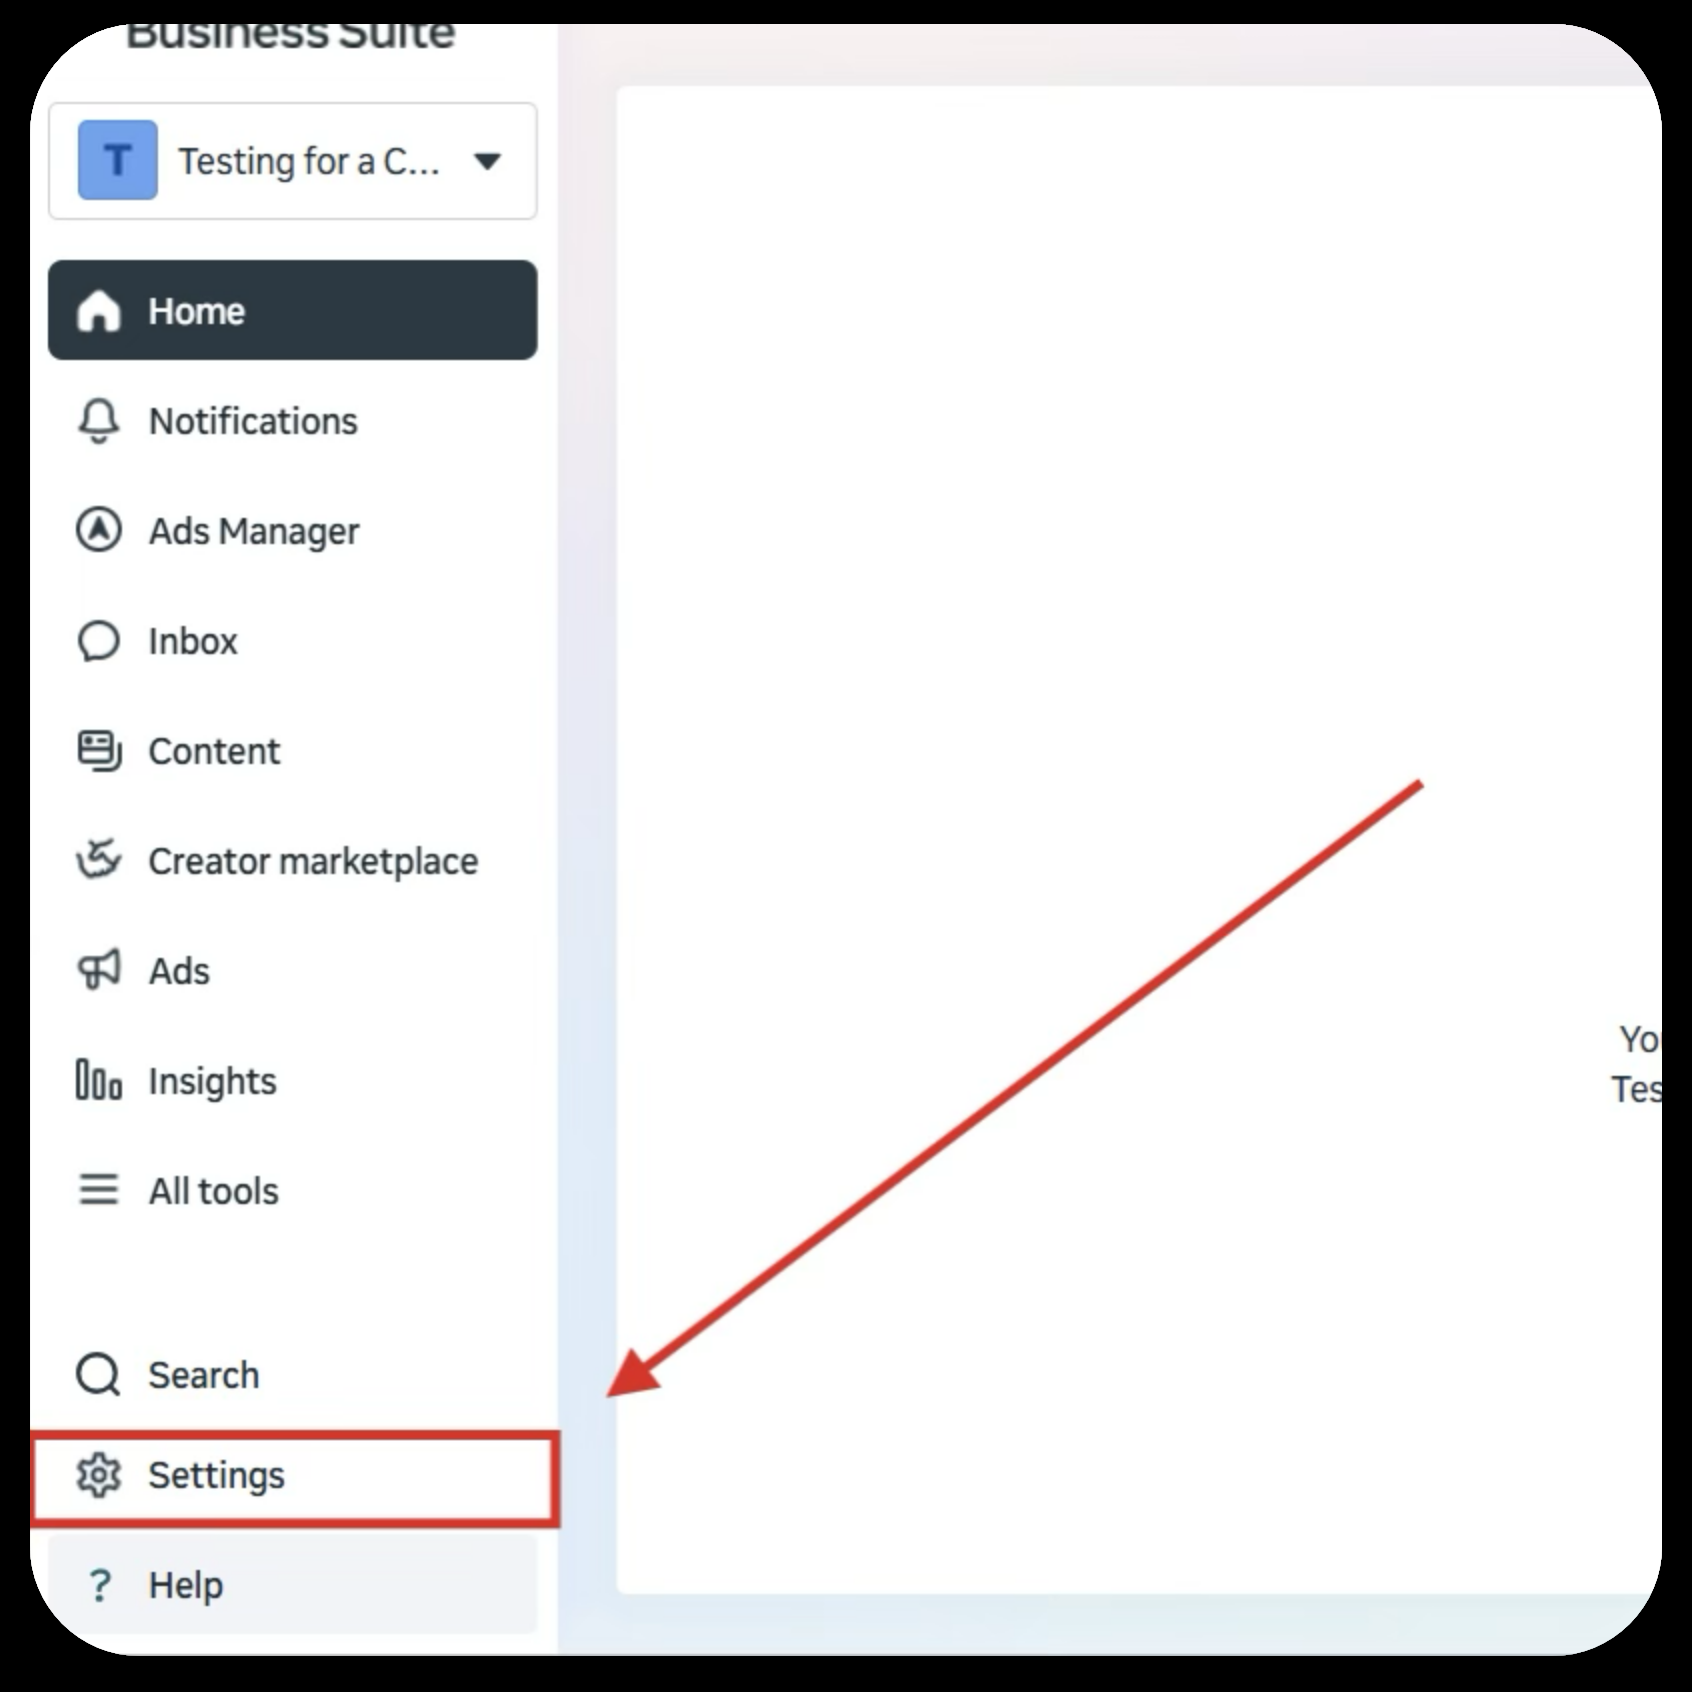
Step 2
Once you have reached this page, you will need to go to the Settings tab on the bottom left of the page.
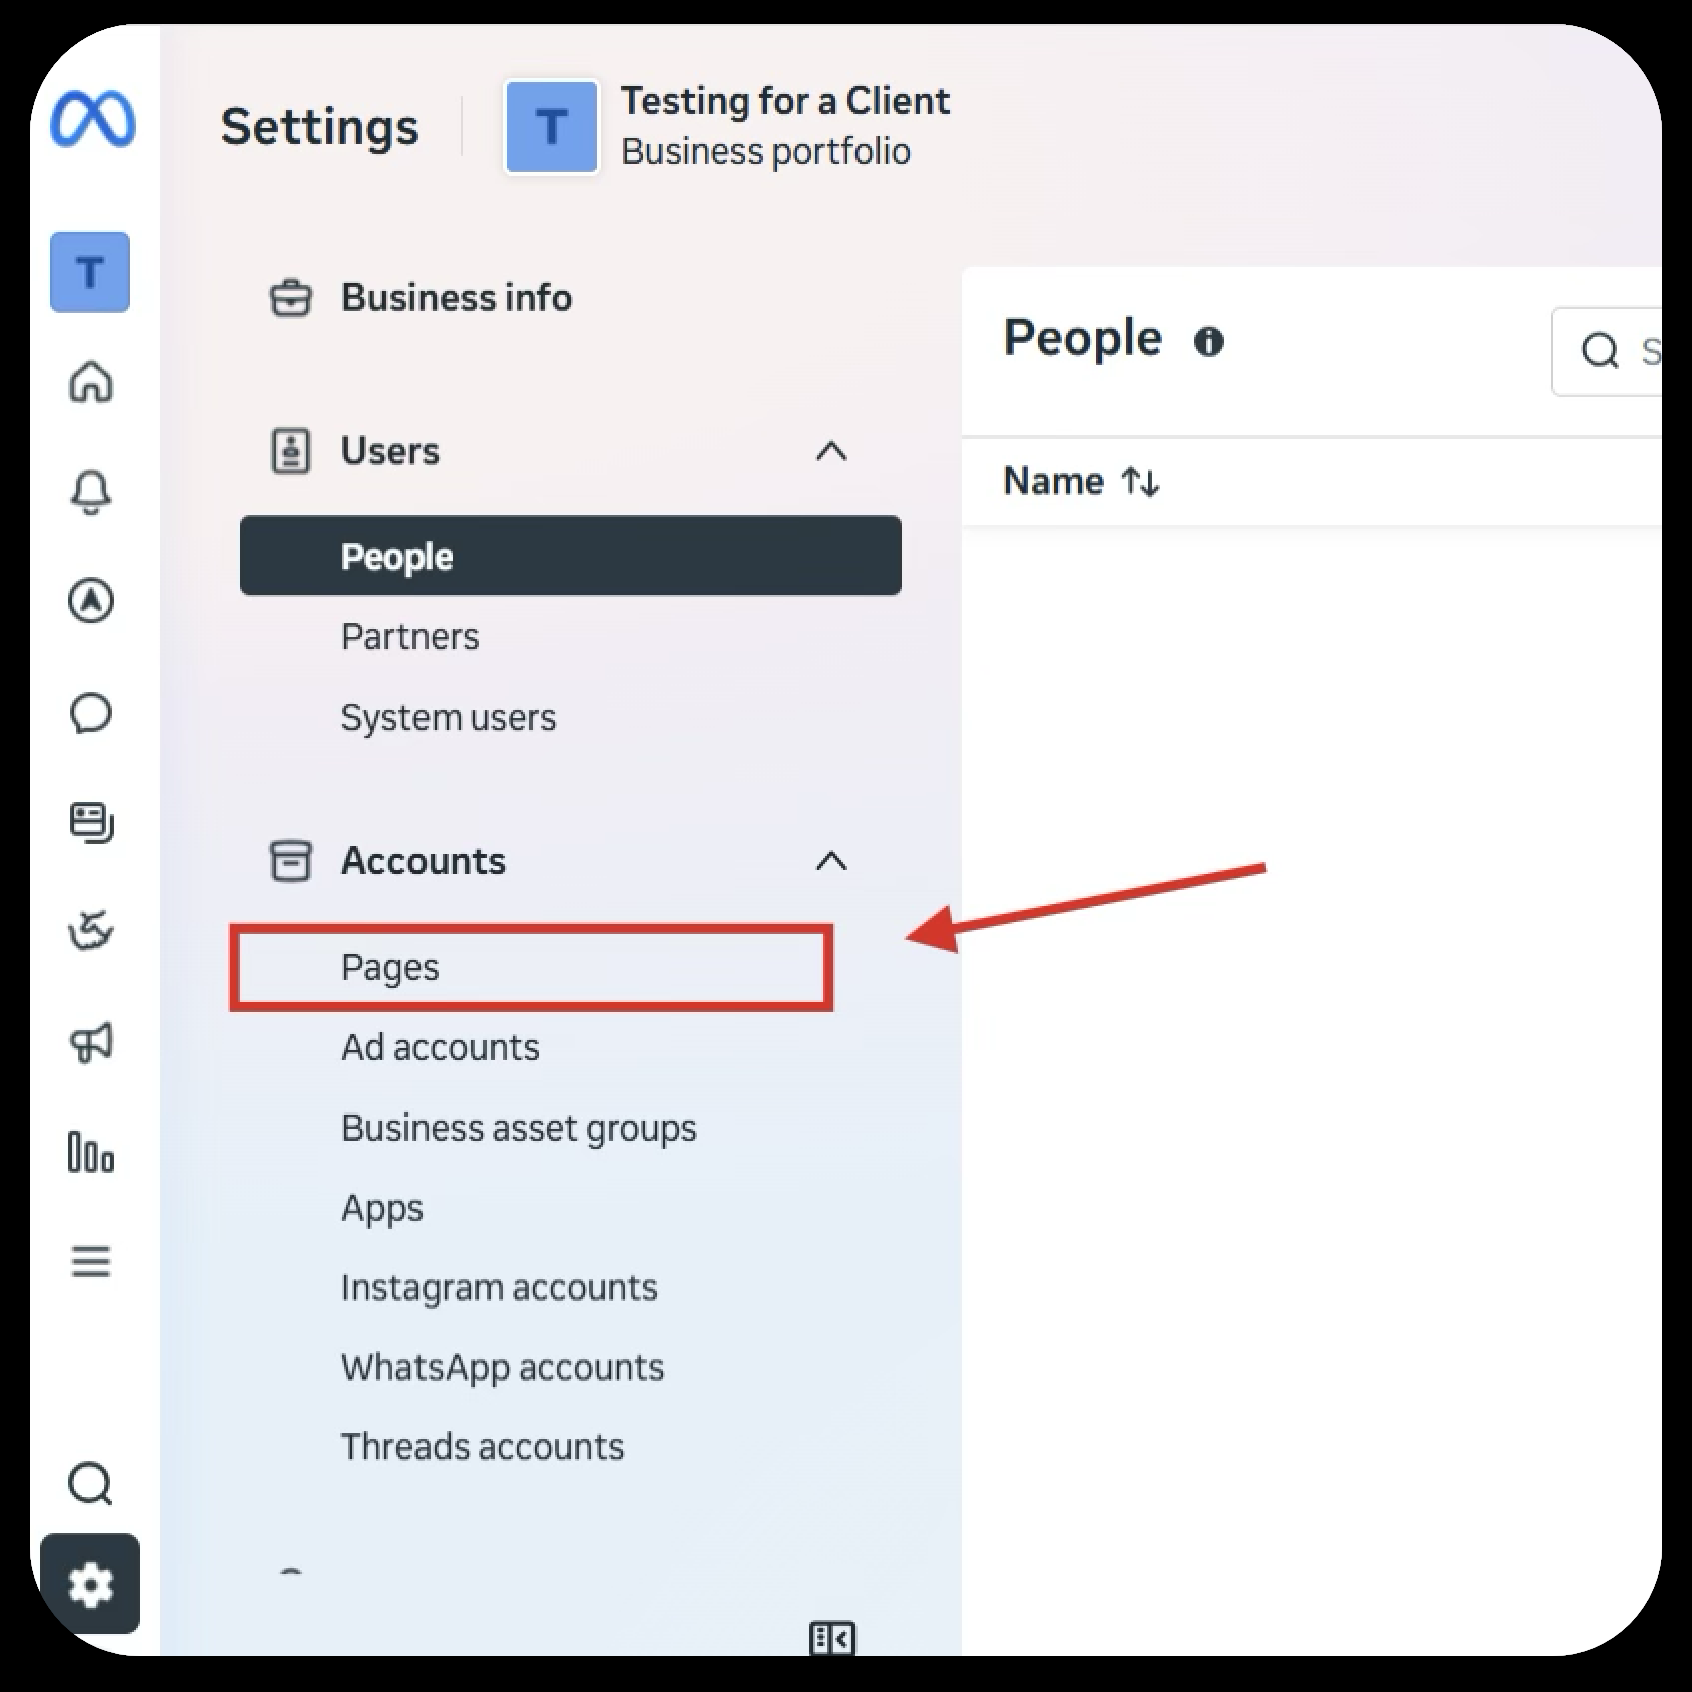
Step 3
Once in the Settings tab, you will need to navigate to the Pages tab on the left side and click on it.
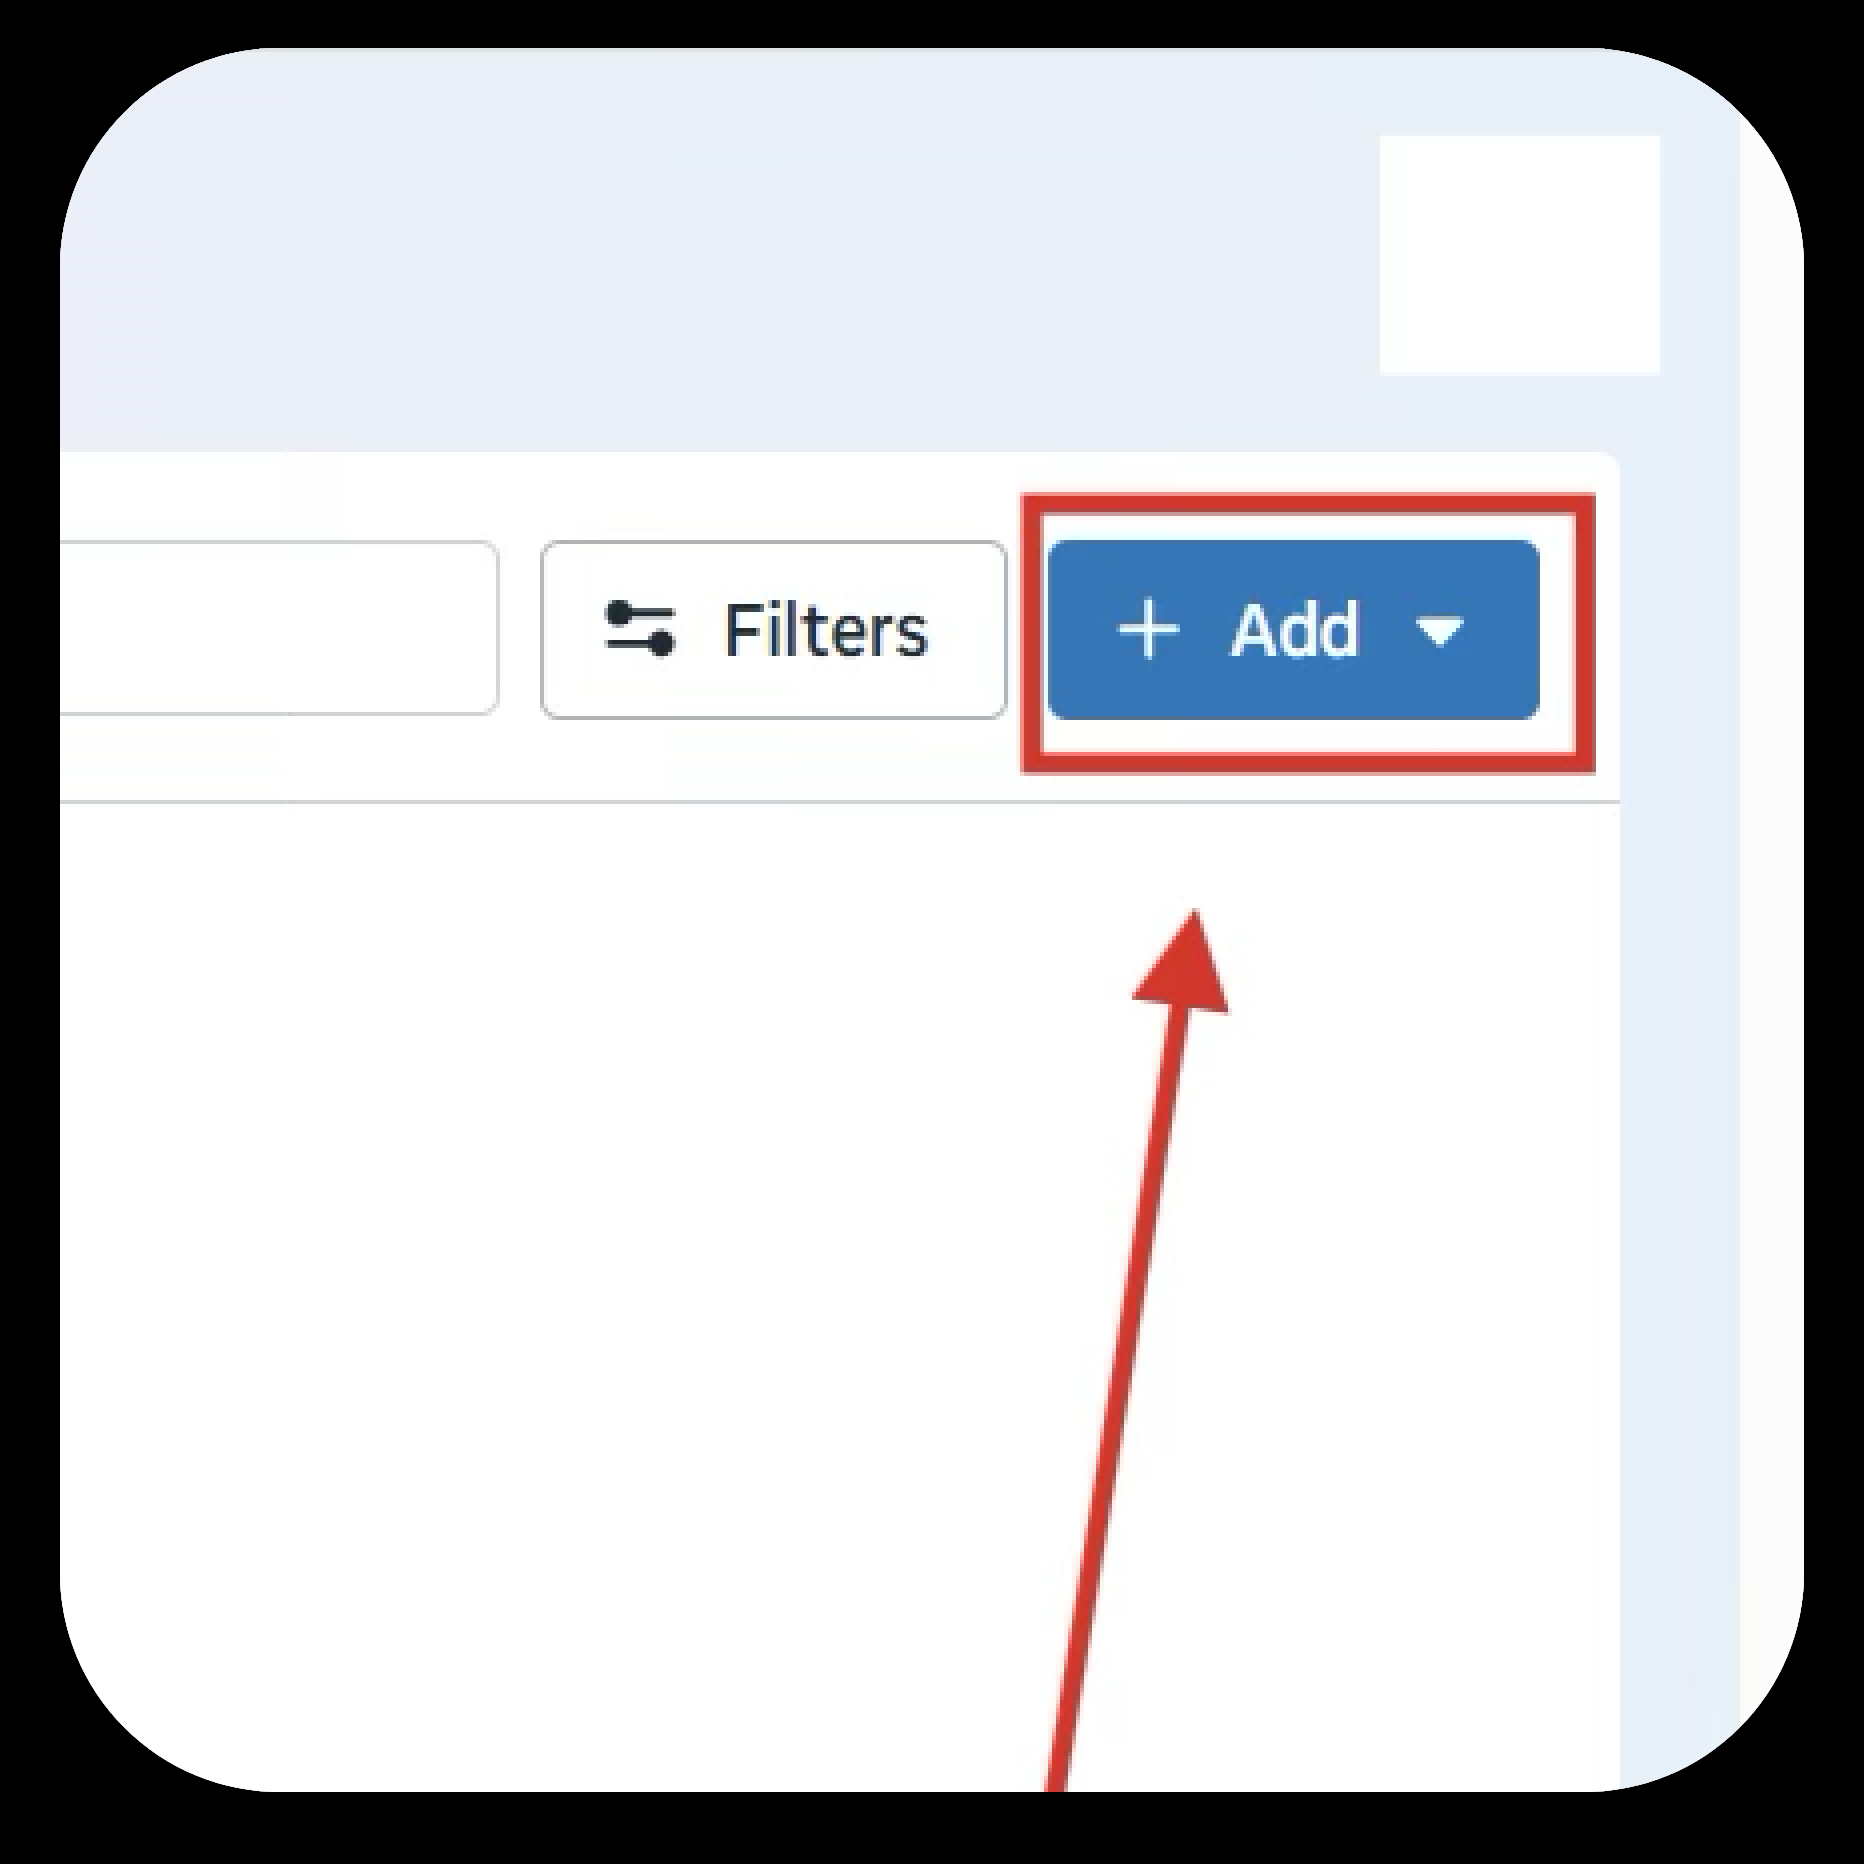
Step 4
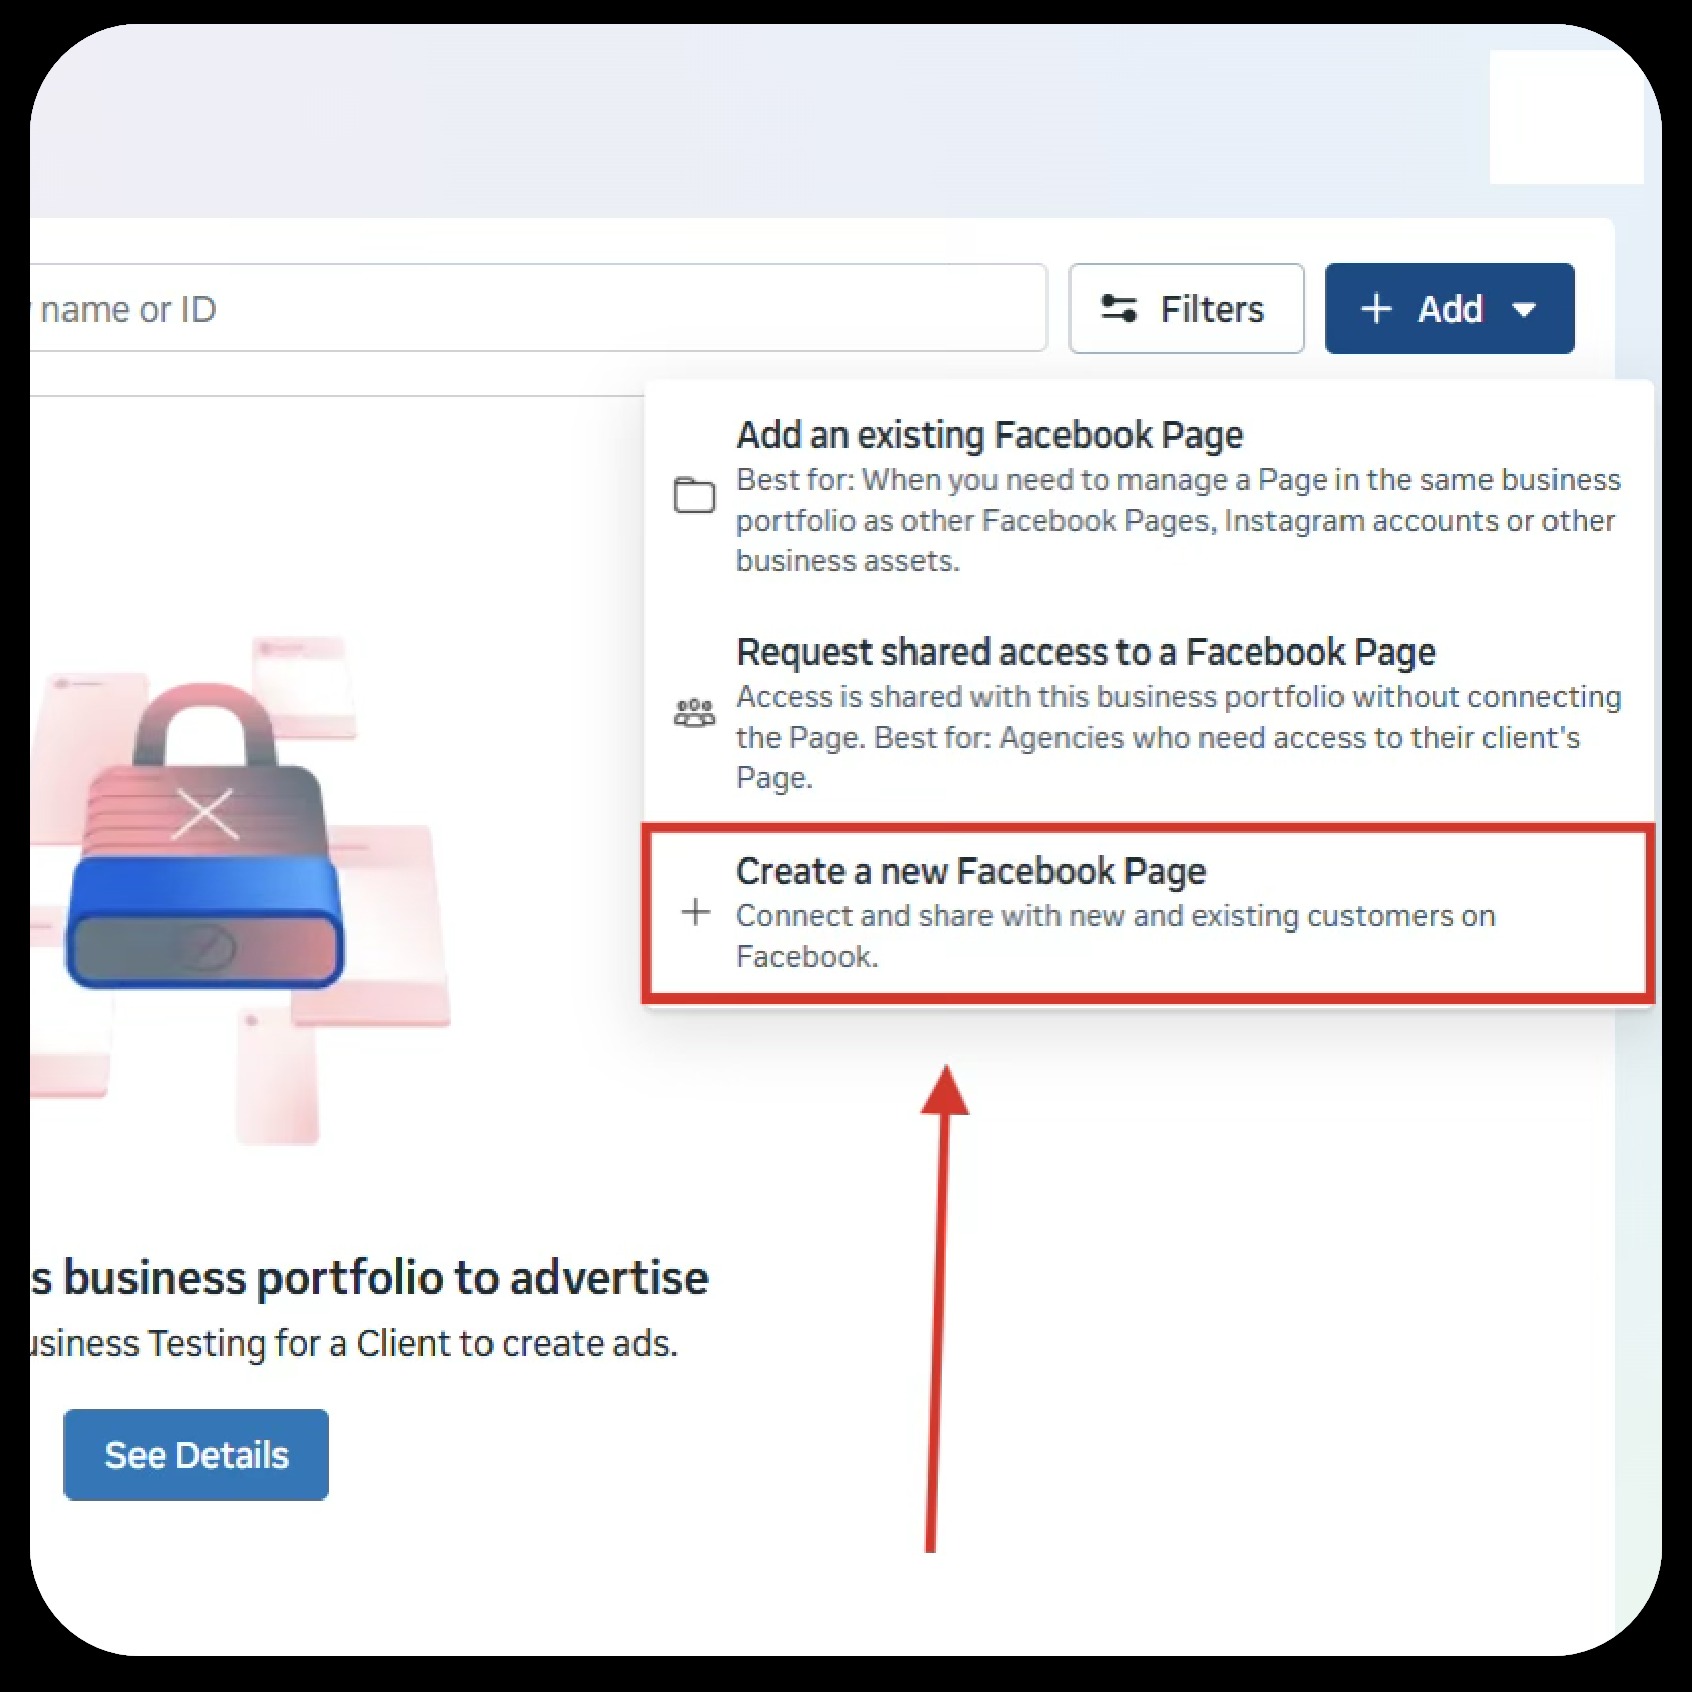
Your page should look similar to this. On the top right, there is a blue box labeled Add. Click on this button.
Step 5
Select Create a new Facebook Page.
Step 6
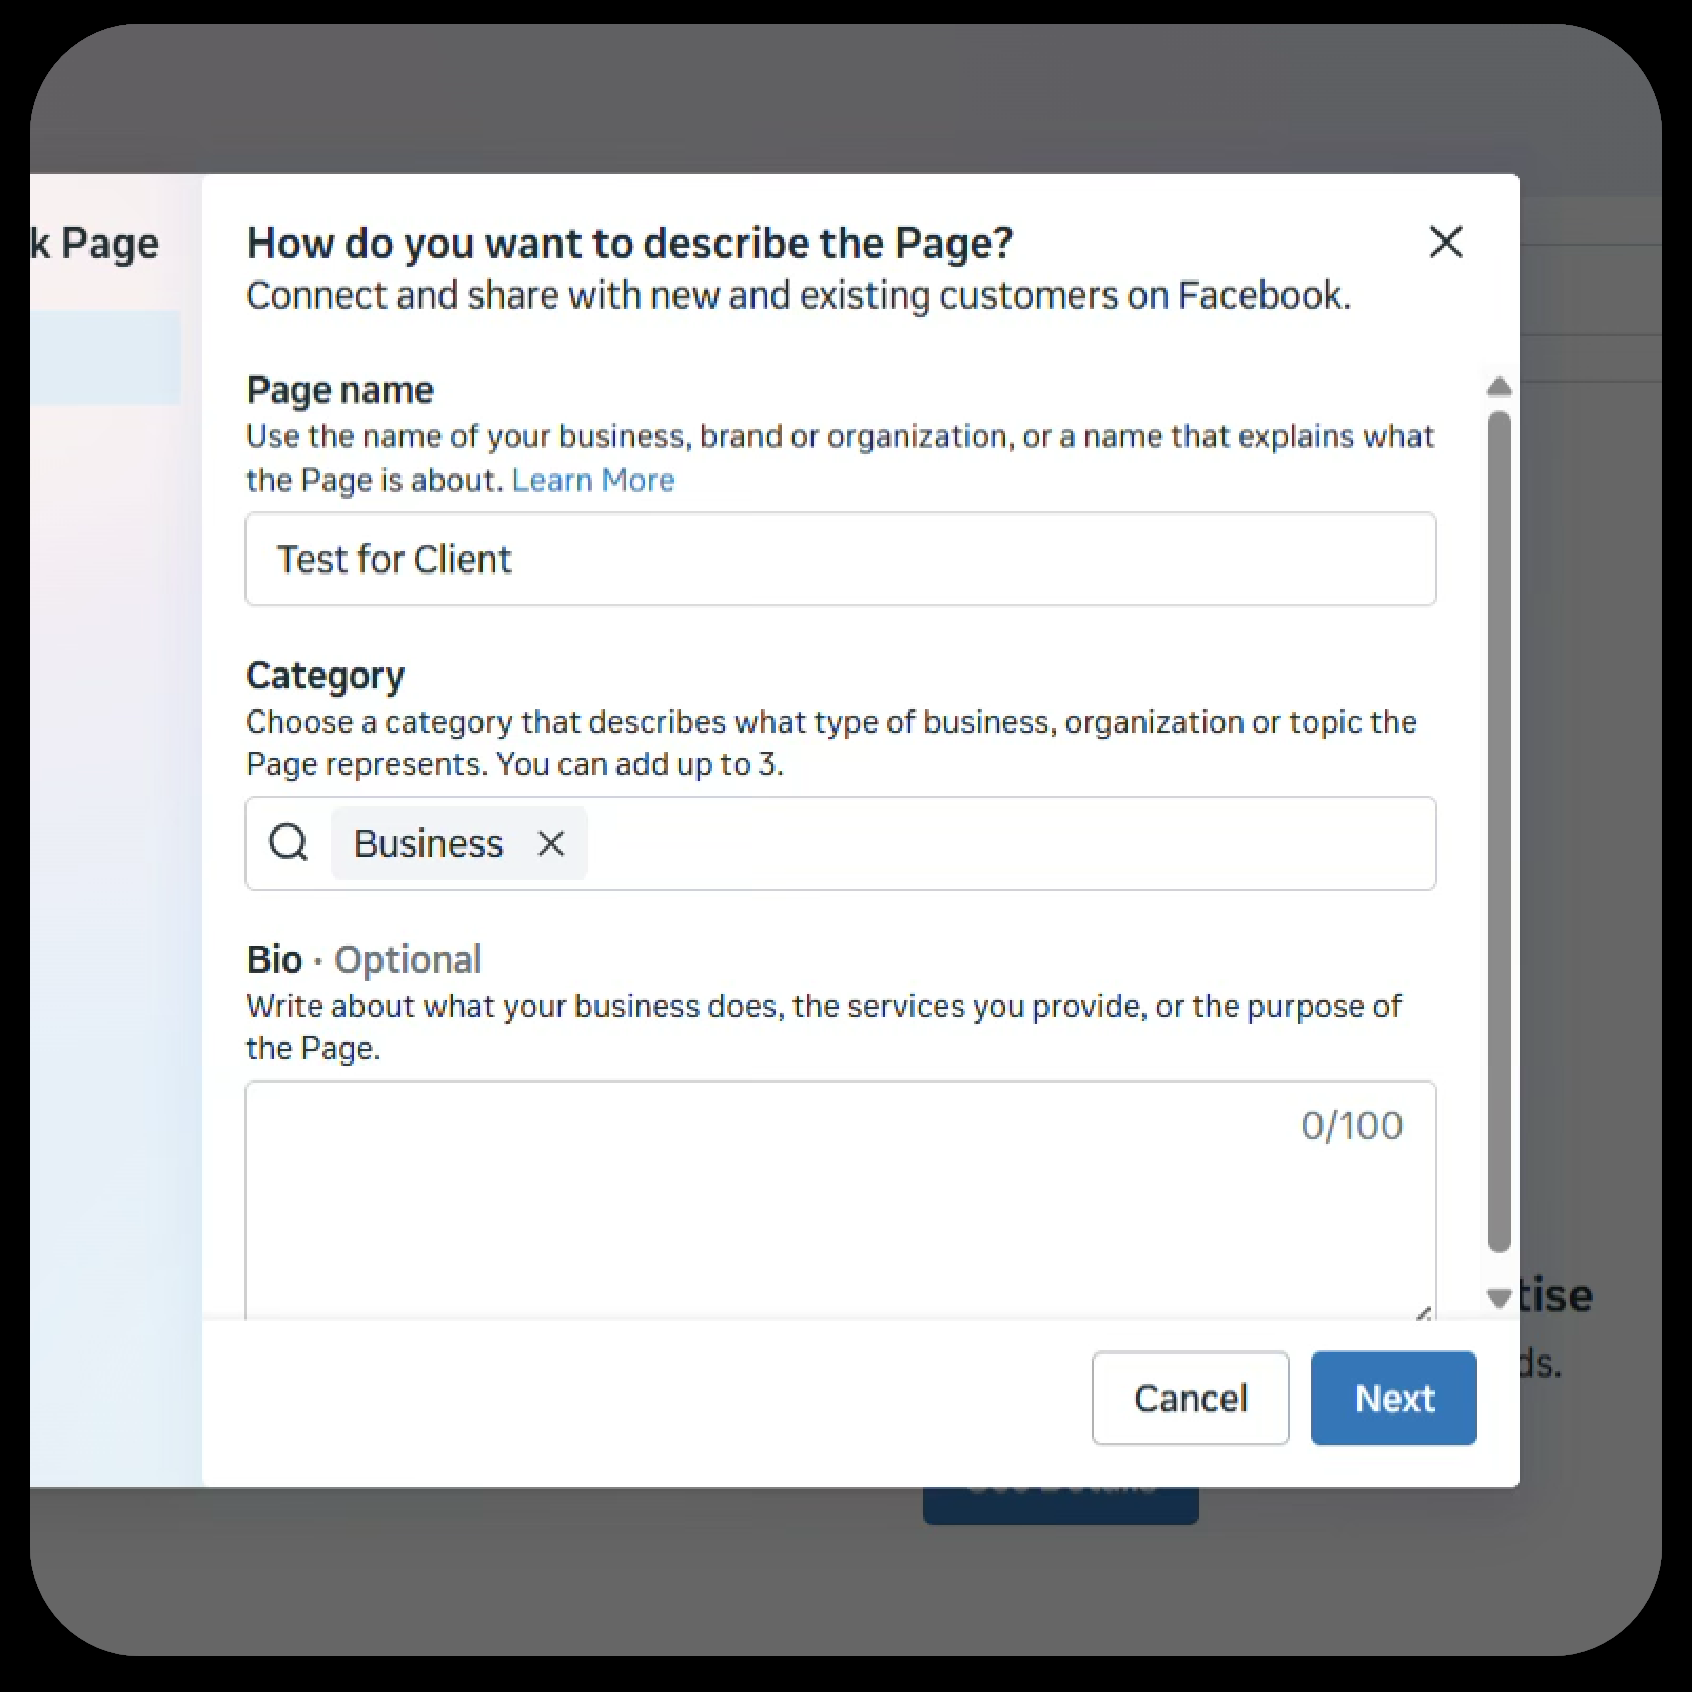
Fill out the Facebook Page name you would like and select up to 3 categories associated with your organization.
Step 7
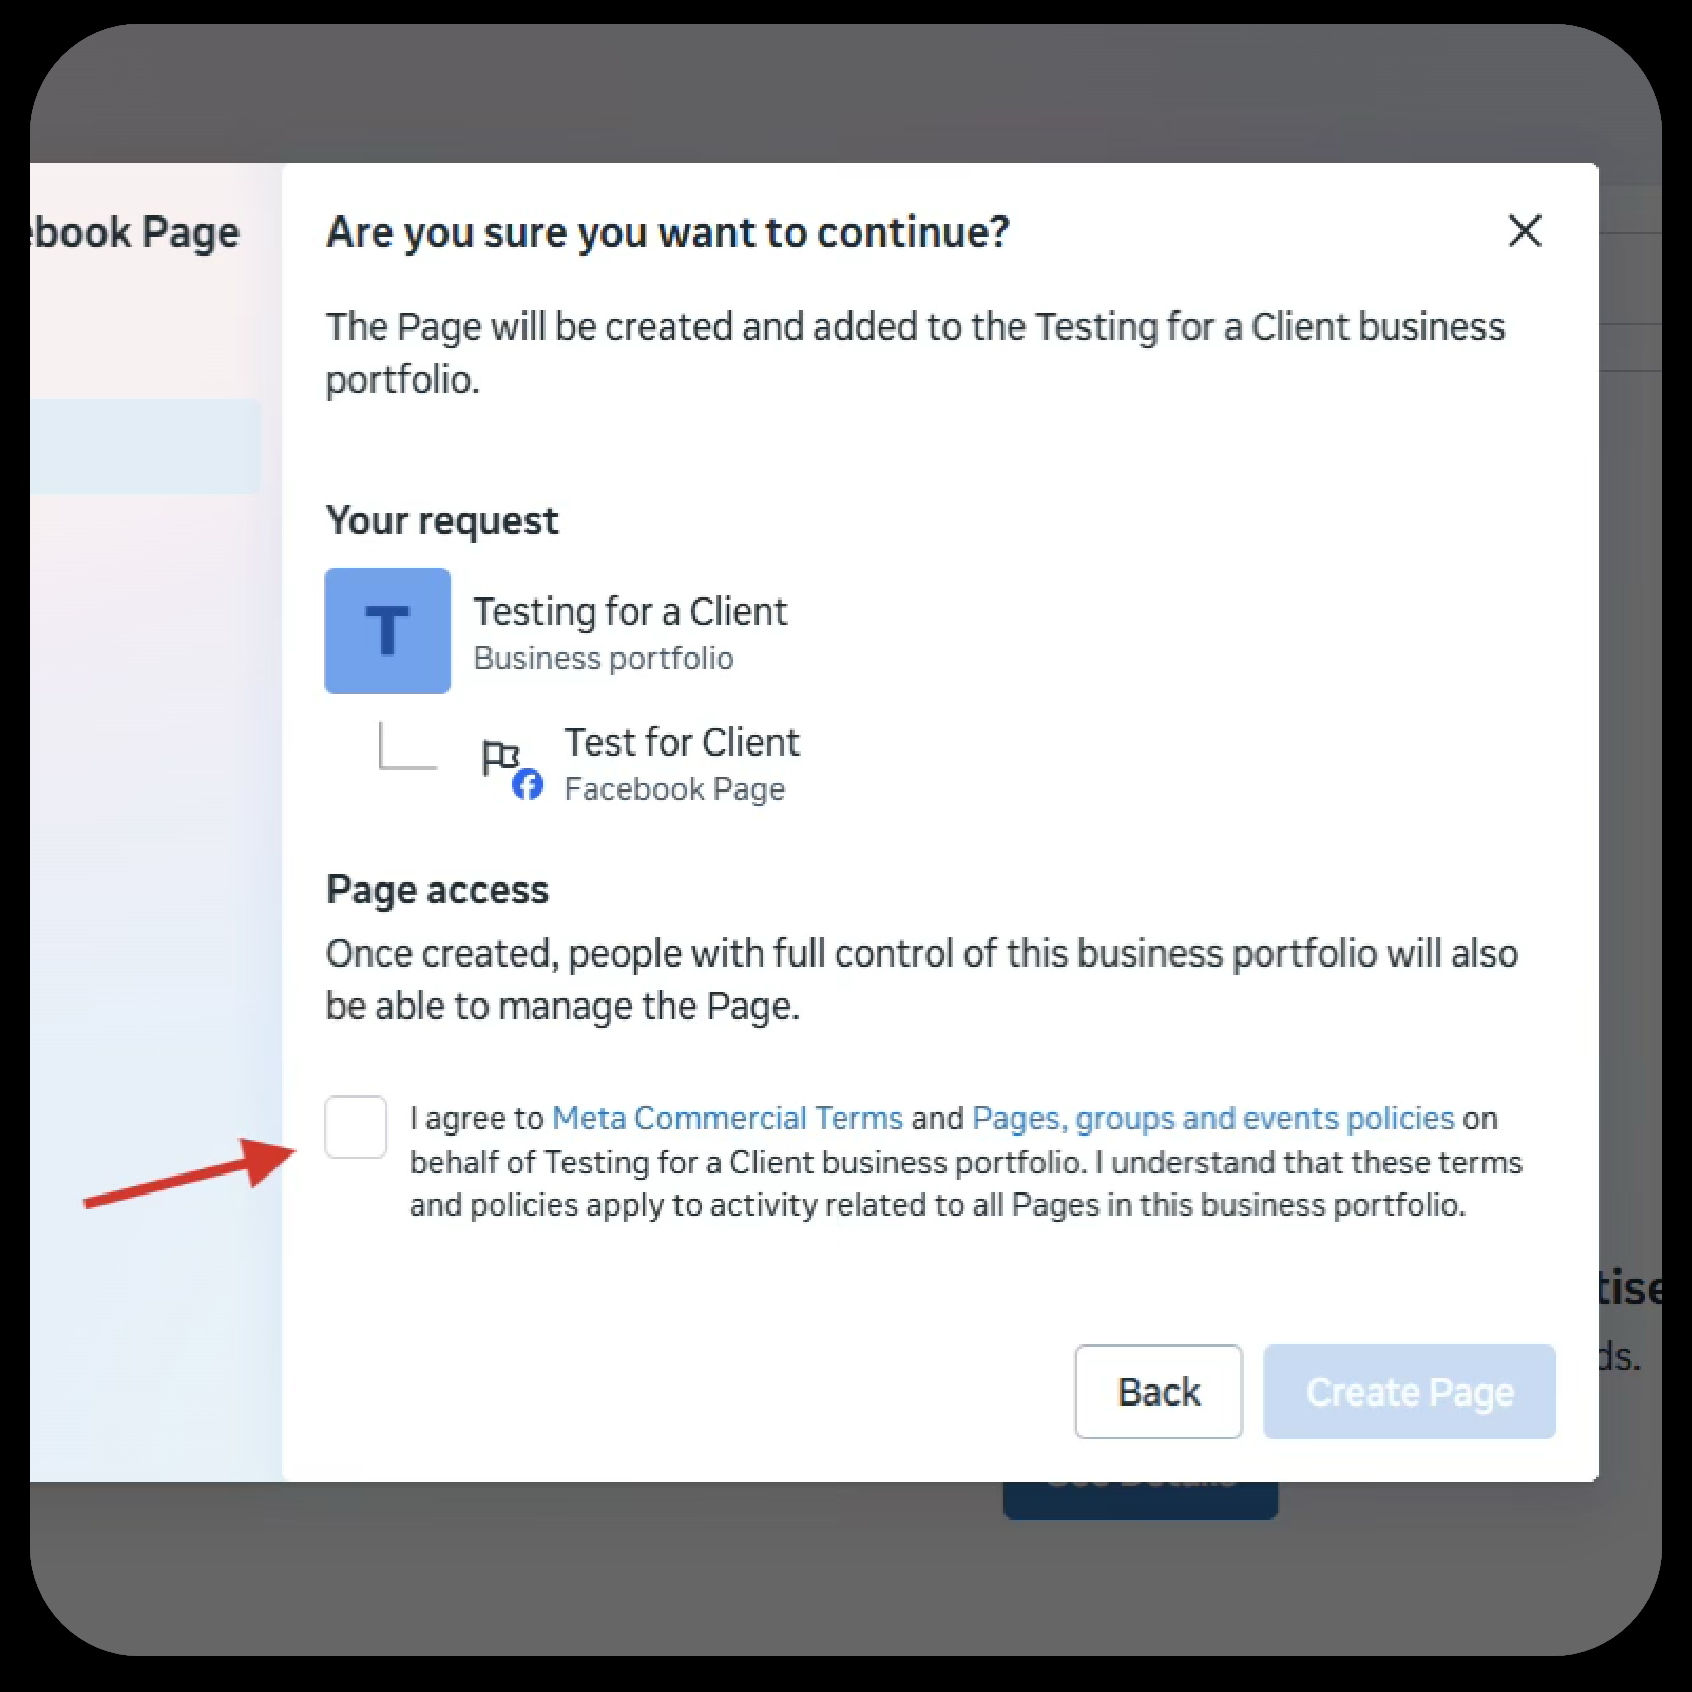
Then accept Meta’s Terms and Services.
You have now created a Facebook Page on Meta Business Suite.
We’re Here to Help You Get the Most from Your Facebook Page
The Nonprofit Success Team will be in touch if you have any questions. Please email nonprofit@projectworldimpact.com.